The Install Hardware Drivers window allows you to install certain drivers for specific hardware.
Check Scanners
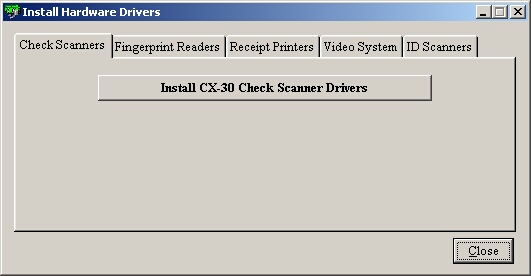
| » | The CX-3- Check Scanner Driver works for all scanners made by Digital Check Corporation (CX-30, TS-215). |
| » | Click the driver button to begin the process. |
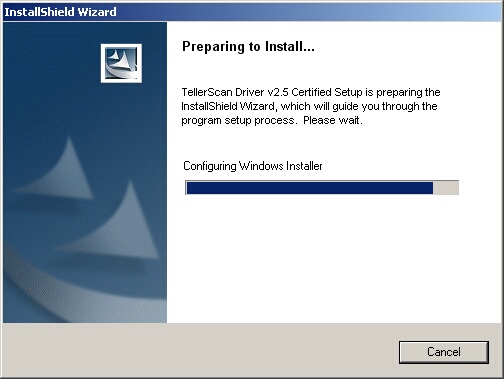
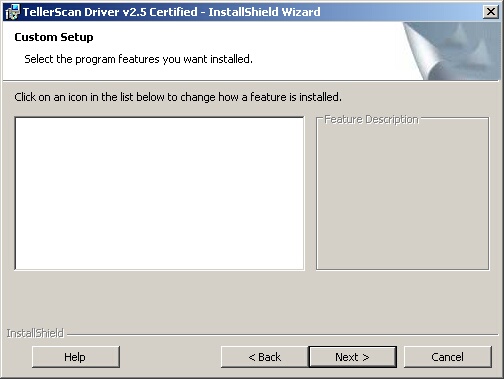
| » | Please wait while it prepares to install. There is nothing for you to do on this step. |
| » | Click Cancel to quit the installation. |
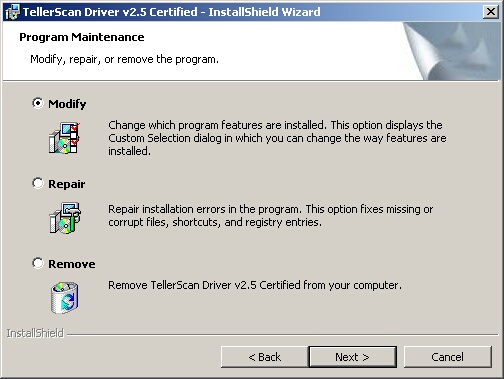
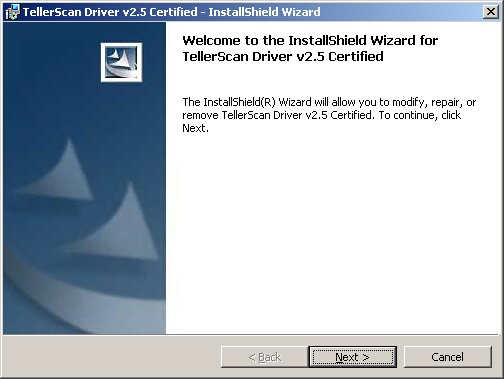
| » | Click the Modify radio button. |
| » | Click Back to return to the previous screen. |
| » | Click Cancel to quit the installation. |
| » | Click Back to return to the previous screen. |
| » | Click Cancel to quit the installation. |
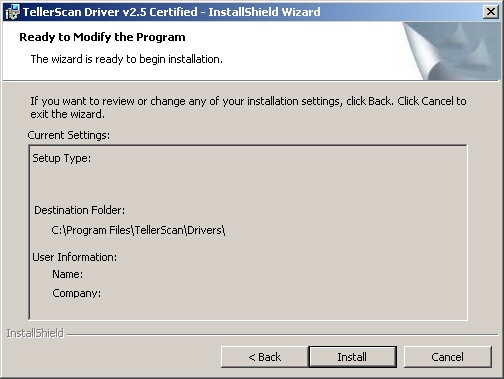
| » | Click Install to continue. |
| » | Click Back to return to the previous screen. |
| » | Click Cancel to quit the installation. |
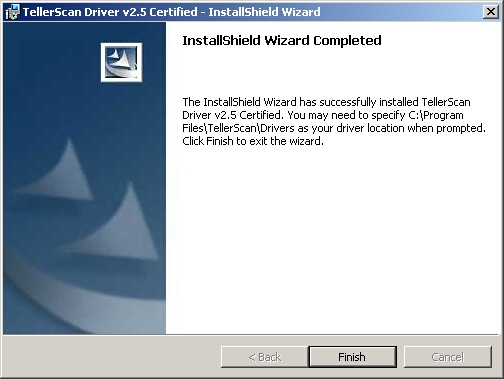
| » | Click Finish to complete the installation. |
Fingerprint Readers
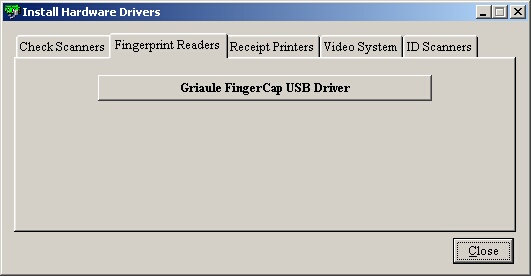
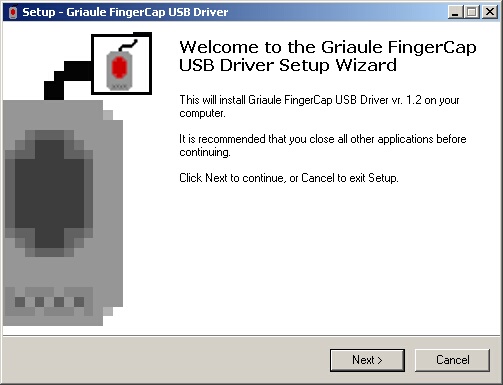
| » | The Griaule FingerCap USB Driver works with the Microsoft fingerprint reader. |
| » | Click the driver button to begin. |
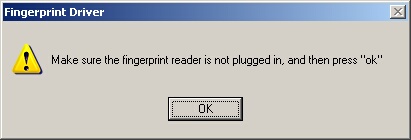
| » | After you ensure the fingerprint reader is not plugged in, click OK. |
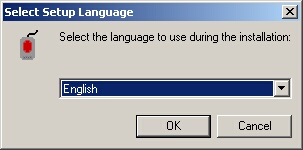
| » | Select the language you wish to use during the installation from the drop-down menu. |
| » | Click Cancel to quit the installation. |

| » | Click Yes to continue with the installation. |
| » | Click No to quit the installation. |
| » | Click Cancel to quit the installation. |
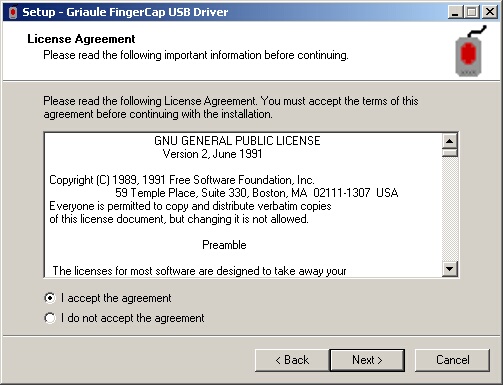
| » | Read the License Agreement and select the I accept the agreement radio button. |
| » | Click Back to return to the previous screen. |
| » | Click Cancel to quit the installation. |
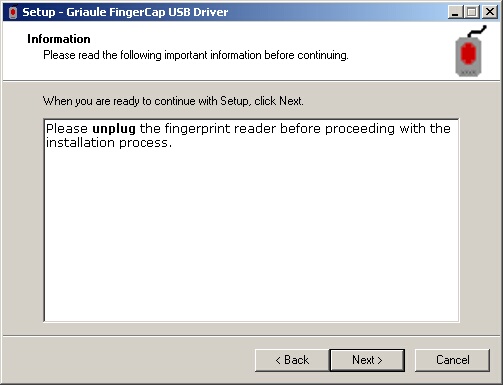
| » | Ensure the fingerprint reader is unplugged. |
| » | Click Back to return to the previous screen. |
| » | Click Cancel to quit the installation. |
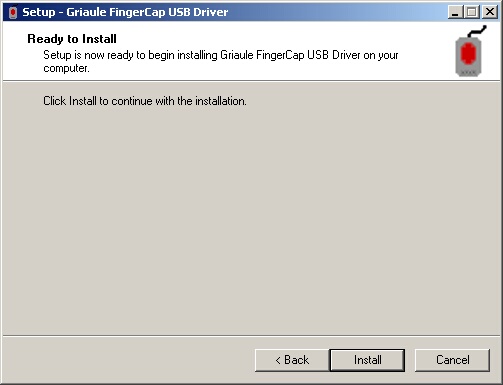
| » | Click Install to continue. |
| » | Click Back to return to the previous screen. |
| » | Click Cancel to quit the installation. |
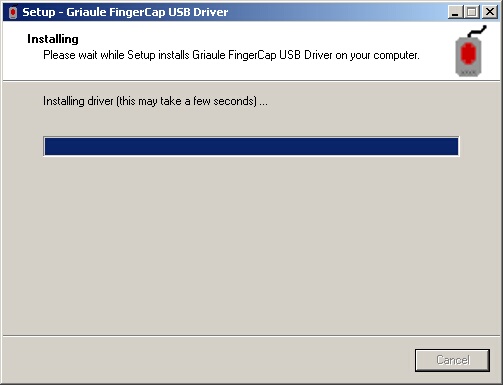
| » | Please wait as the drivers are being installed. There is nothing for you to do on this step. |
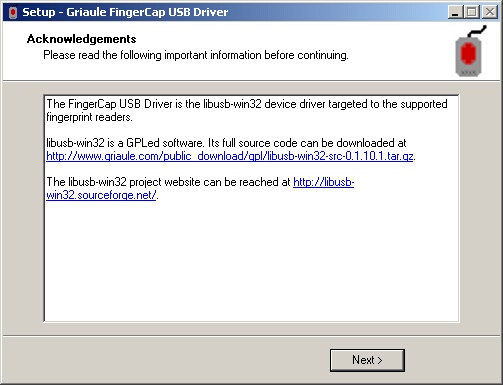
| » | After acknowledging the following information, click Next to continue. |
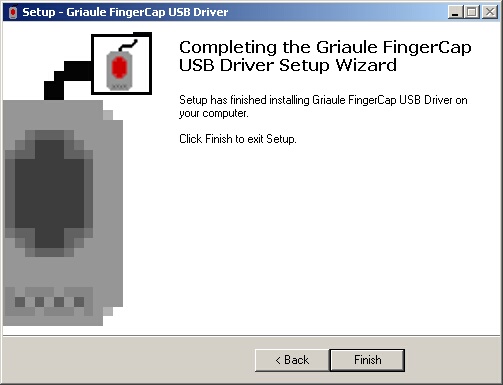
| » | Click Finish to complete the installation. |
| » | Click Back to return to the previous screen. |
Receipt Printers
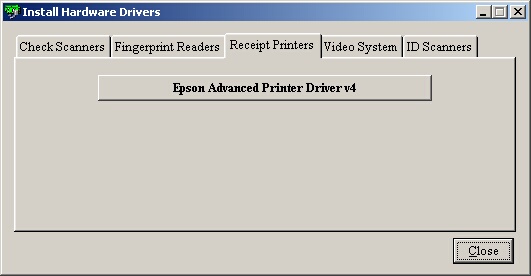
| » | The Epson Advanced Printer Driver v4 works for all Epson Receipt Printers. |
| » | Click the driver button to begin. |
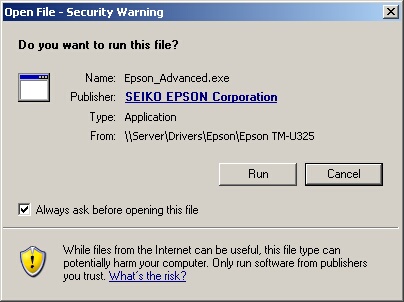
| » | Click Run to begin the process. |
| » | Click Cancel to quit the process. |
| » | Please wait while the files are unpacked. There is nothing for you to do on this step. |
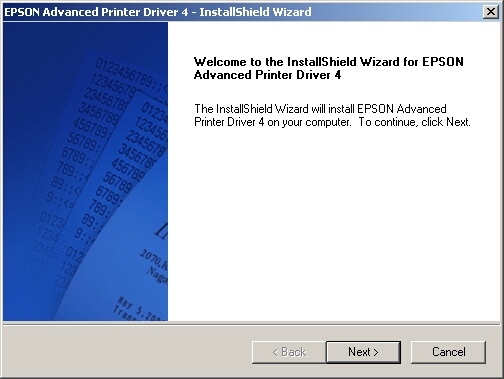
| » | Click Next to begin the installation. |
| » | Click Cancel to quit the installation. |
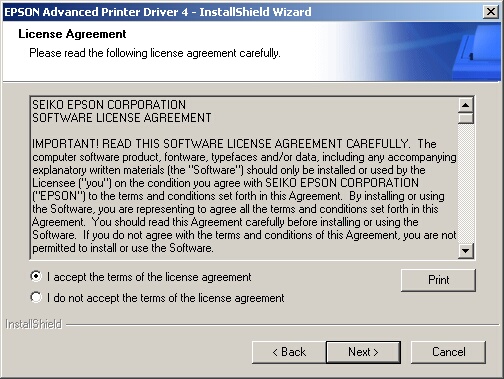
| » | Read the License Agreement and select the I accept the term of the license agreement radio button. |
| » | Click the Print button if you wish to print the License Agreement. |
| » | Click Back to return to the previous screen. |
| » | Click Cancel to quit the installation. |
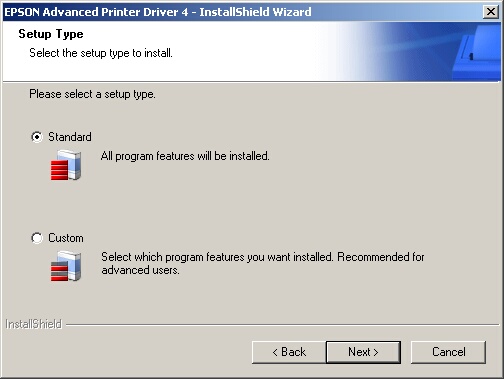
| » | Select the Standard radio button. |
| » | Click Back to return to the previous screen. |
| » | Click Cancel to quit the installation. |
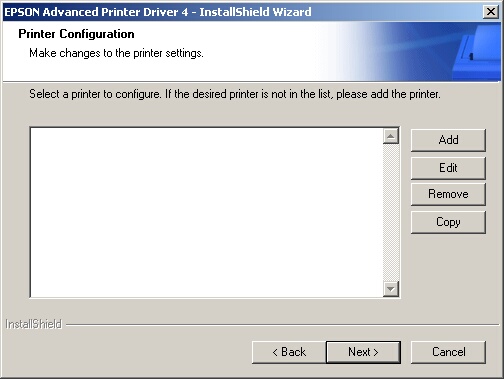
| » | Click the Add button to select your printer from the list. |
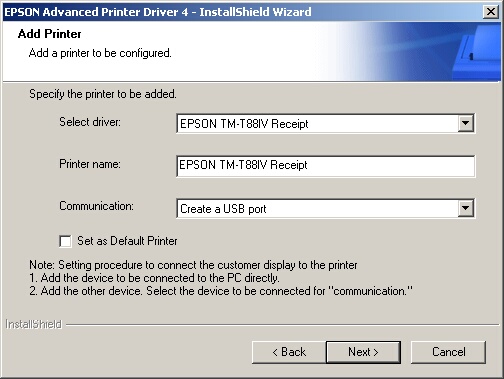
| » | Select your printer from the Select Driver drop-down. |
| » | Edit the printer name if you choose. |
| » | Select Create a USB port from the Communication drop-down. |
| » | Check the Set as Default Printer button if you want this printer to be the default printer for this computer. |
| » | Click Back to return to the previous screen. |
| » | Click Cancel to quit the installation. |
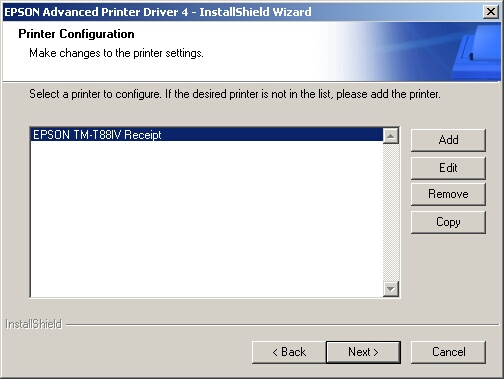
| » | Select your printer and click Next to continue. |
| » | Click Back to return to the previous screen. |
| » | Click Cancel to quit the installation. |
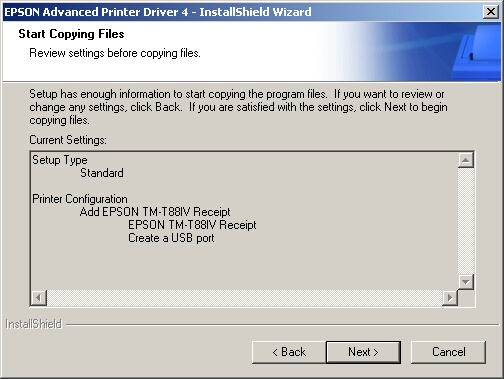
| » | Click Back to return to the previous screen. |
| » | Click Cancel to quit the installation. |
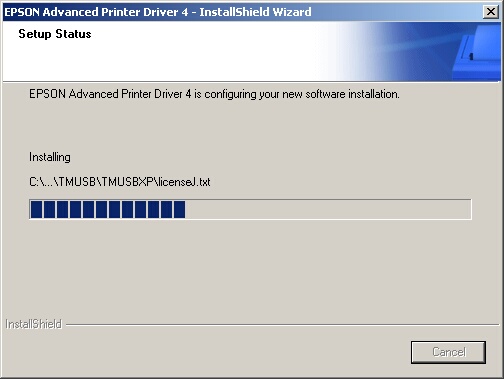
| » | Please wait at the driver is being installed. There is nothing for you to do on this step. |
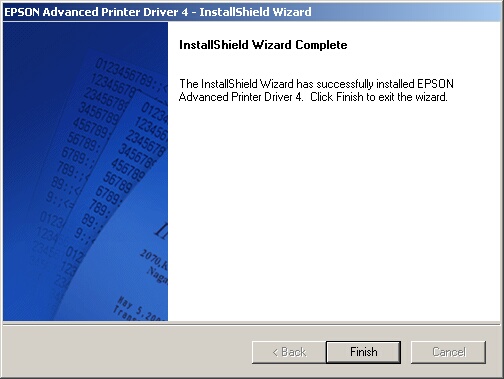
| » | Click Finish to complete the installation. |
Video System

| » | The Video Recording System installs all drivers and software needed to run the video recording system. |
| » | Click the Video Recording System button to begin. |

| » | Click Cancel to quit and exit the installation. |
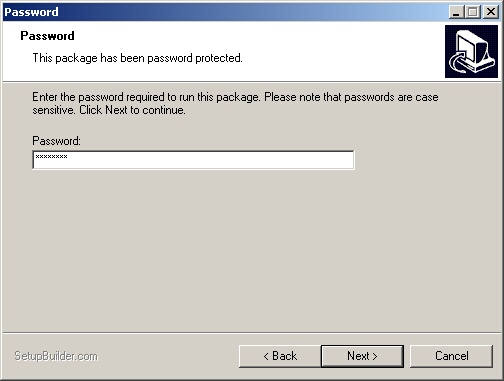
| » | Since this system is password protected by kSoft Corporation, you will need to have a kSoft Technician install the system and enter the password. |
| » | Click Back to return to the previous screen. |
| » | Click Cancel to quit and exit the installation. |
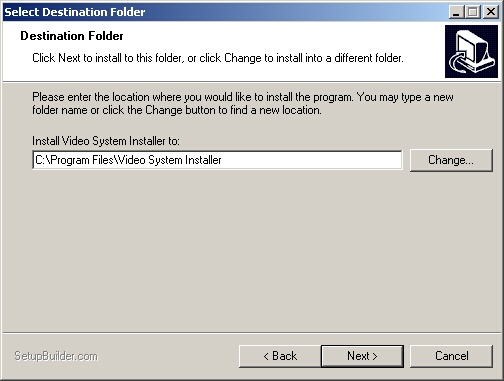
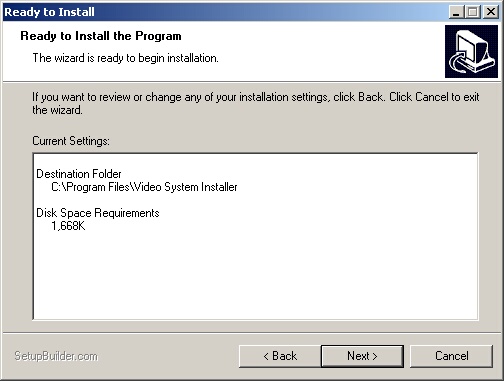
| » | Leave the Destination Folder at the default location unless you have a specific reason to change it. |
| » | Click Back to return to the previous screen. |
| » | Click Cancel to quit and exit the installation. |
| » | Click Back to return to the previous screen. |
| » | Click Cancel to quit and exit the installation. |
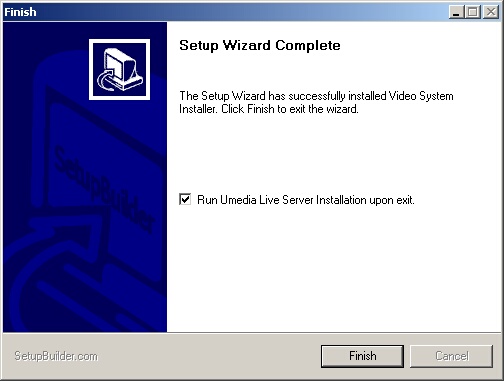
| » | Be sure the checkbox is checked and click Finish to complete the installation. |
| » | Click Cancel to quit and exit the installation. |
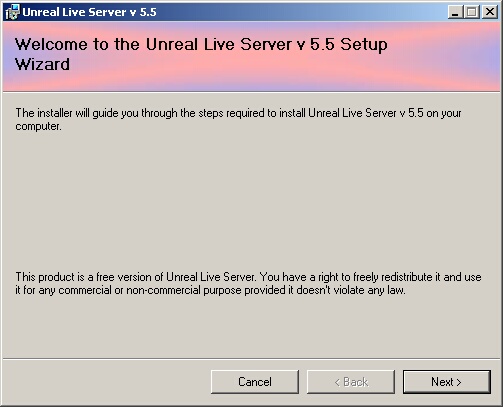
| » | Click Next to continue to install Unreal Live Sever. This is the server needed to run the system. |
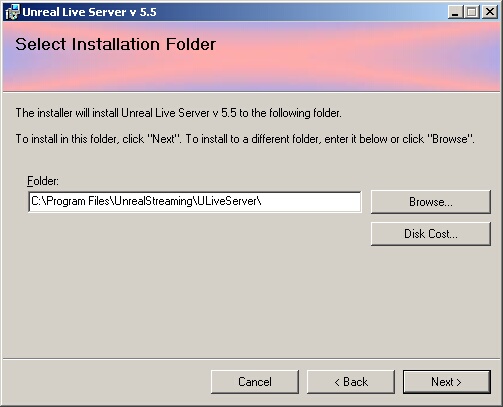
| » | Leave the Installation Folder at the default location unless you have a specific reason to change it. |
| » | Click Cancel to quit and exit the installation. |
| » | Click Back to return to the previous screen. |
| » | Click Cancel to quit and exit the installation. |
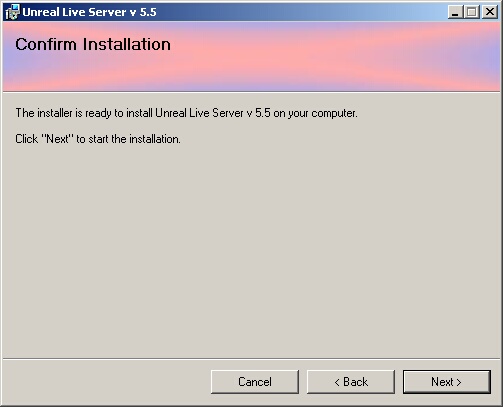
| » | Click Back to return to the previous screen. |

| » | Please wait while the server is being installed. |
| » | Click Cancel to stop the installation process. |
| » | Click Close to complete the installation. |
Once the drivers and server have been installed, the server needs to be configured. You will need to locate the Server Configurator through your Start Menu.

| » | Go to: Start Menu > All Programs > Unreal Streaming > Live Server Configurator. |
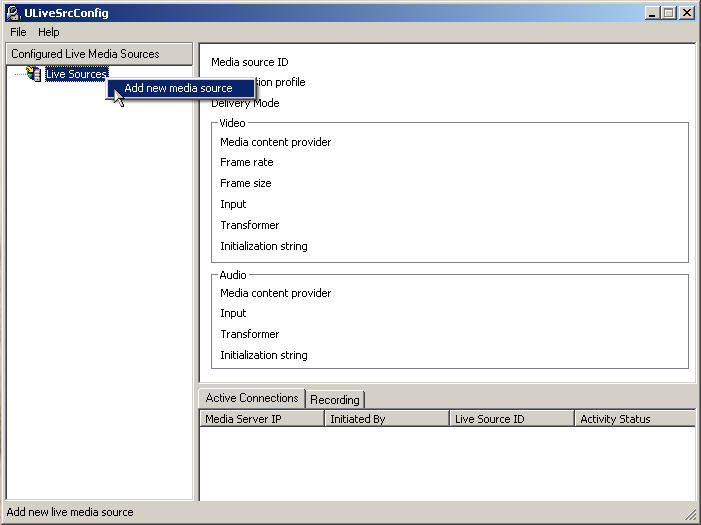
| » | Right-click on Live Sources and select Add new media source. |
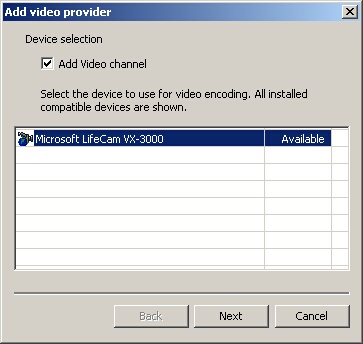
| » | Check the Add Video channel and the Microsoft LifeCam should appear. |
| » | Click Cancel to stop the configuration. |
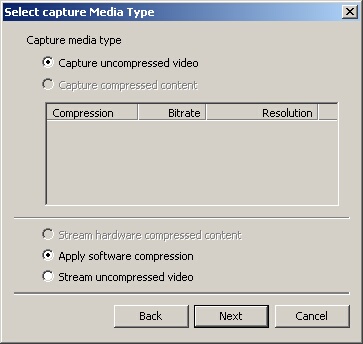
| » | Select the Capture uncompressed video and Apply software compression radio buttons. |
| » | Click Back to return to the previous screen. |
| » | Click Cancel to stop the configuration. |
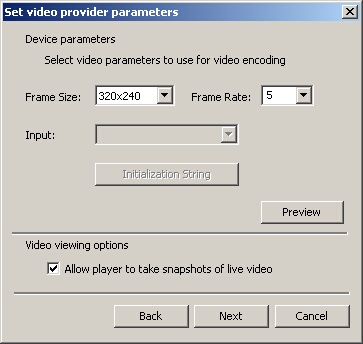
| » | Select 320x240 from the Frame Size drop-down. |
| » | Select 5 from the Frame Rate drop-down. |
| » | Check the All player to take snapshots of live video box. |
| » | Click Back to return to the previous screen. |
| » | Click Cancel to stop the configuration. |
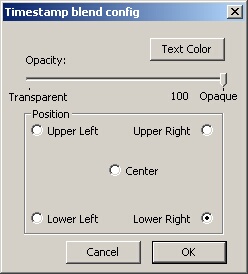
| » | Select the text color of the time stamp that will appear on the video by clicking the Text Color button (red is recommended). |
| » | Slide the Opacity slider to select how transparent the time stamp will be. |
| » | Select the radio button of the position where you want the time stamp to appear. |
| » | Click Cancel to stop the configuration. |
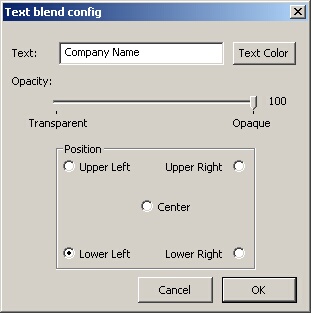
| » | Type in any text that you would like to appear on the video in the Text: field (your company's name is recommended). |
| » | Select the text color of the text that will appear on the video by clicking the Text Color button (red is recommended). |
| » | Slide the Opacity slider to select how transparent the text will be. |
| » | Select the radio button of the position where you want the text to appear. |
| » | Click Cancel to stop the configuration. |
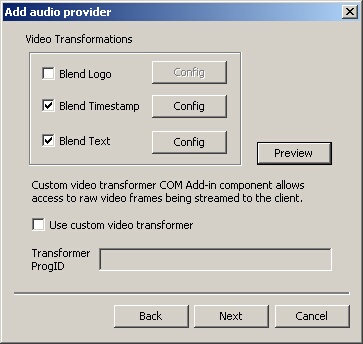
| » | Check the Blend Timestamp and Blend Text boxes. |
| » | Click the Preview button to see a preview of what the video will look like (timestamp and text color and position). |
| » | Click Back to return to the previous screen. |
| » | Click Cancel to stop the configuration. |
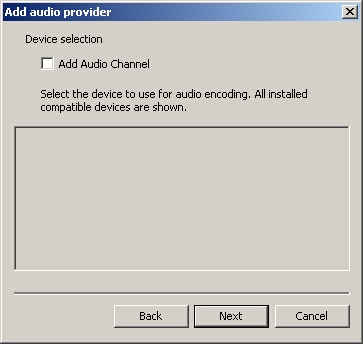
| » | If you would like to use the built in microphone on the Microsoft LiveCam, check the Add Audio Channel box and then select the webcam from the list. |
| » | Click Back to return to the previous screen. |
| » | Click Cancel to stop the configuration. |
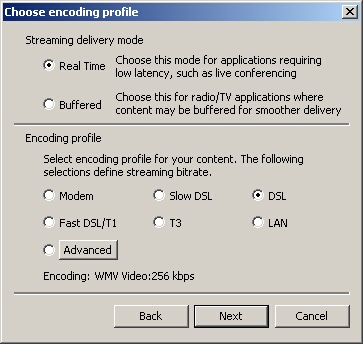
| » | Select the Real Time and DSL radio buttons. |
| » | Click Back to return to the previous screen. |
| » | Click Cancel to stop the configuration. |
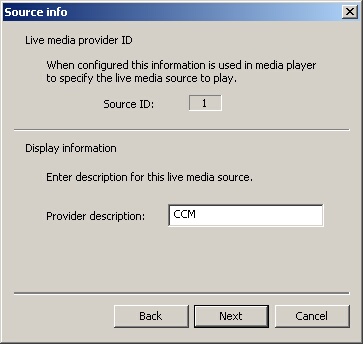
| » | Enter the Provider description of CCM. |
| » | Click Back to return to the previous screen. |
| » | Click Cancel to stop the configuration. |
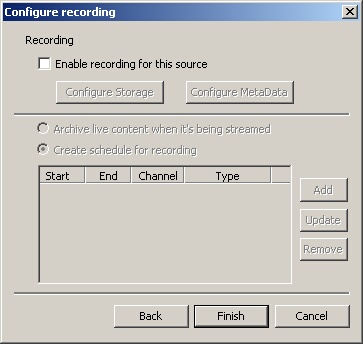
| » | Do not check the Enable recording for this source radio button. |
| » | Click Back to return to the previous screen. |
| » | Click Finish to complete the setup. |
| » | Click Cancel to stop the configuration. |
ID Scanners

| » | The 4600G COM Port Emulation PDF Page works only for the 4600G Handheld ID Scanner. |
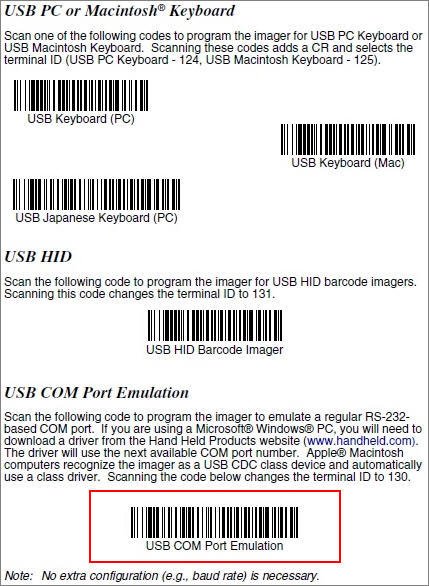
| » | Scan the USB Com Port Emulation bar code (circled in red above). |
| » | The scan configures everything, no extra configuration is necessary. |
Page url:
http://www.ksoftcorp.com/help/index.html?install_hardware_drivers.htm


