Below is the step-by-step process for cashing a check using only a fingerprint reader (no check scanner is hooked up).
* Note: The Cash New Check process is also accessible through the customer listing window. Select the customer from the list and click Cash Check  in the lower right corner. This process does not ask for the customers fingerprint. It jumps directly to the Step 1 - Verify Customer Information screen (unless there is a customer comment loaded in their profile, then comment will appear in a pop-up window. Simply click OK to proceed). However, the fingerprint reader can be used to search for the customer in the Customer Listing window. To view complete details on searching for a customer using the fingerprint reader, please see Search for Customers.
Be sure the fingerprint reader has been activated in the system in the Scanner/Equipment/MoneyGram Setup (Fingerprint/Webcam section).

| » | Click the Cash New Check button to begin the process. |
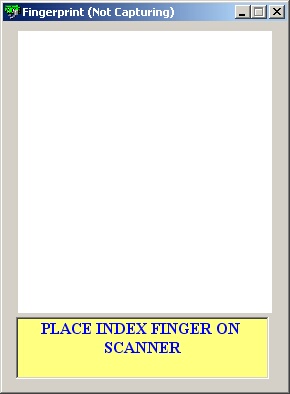
| » | Have the customer place his/her finger on the fingerprint reader. |
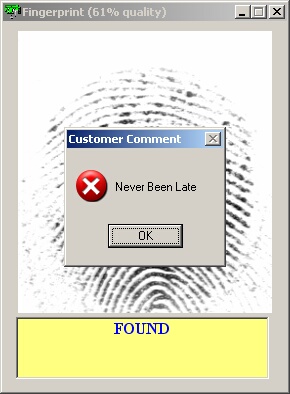
| » | If the customer was found and there is a customer comment loaded in their profile, the comment will appear in a pop-up window. Simply click OK to proceed. |
| » | If the customer's fingerprint was not found, you will need to go to the Customer Listing window and add the customer. To view complete details on this process, please see Add New Customer. |
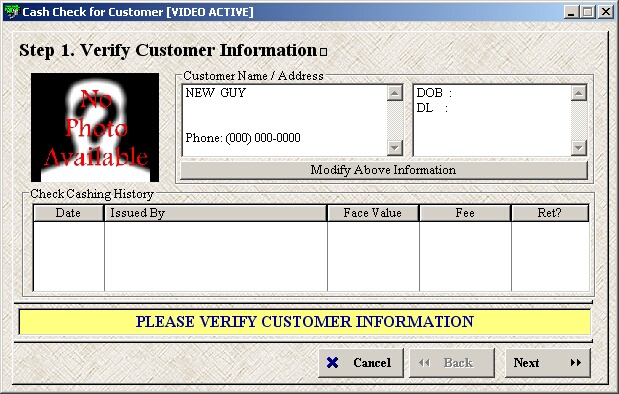
| » | Step 1 is to simply verify this is the correct customer. |
| » | Click Modify Above Information to update customer’s Name, Address, and/or Phone. |
| » | Any previous checks cashed by this customer will appear in the Check Cashing History section. |
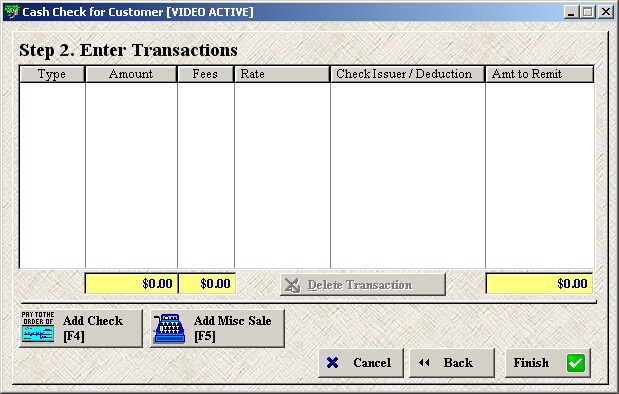
| » | Step 2 allows you enter the check(s) to be cashed and add a misc sale to the transaction. |
| » | Click Add Check to enter the check information. |

| » | Step 2a allows you to enter all the check information. |
| » | If customer is cashing a personal check, simply check the This is a Personal Check box. |
| » | Otherwise, click the Select Check Payee button  to choose one from the list. to choose one from the list. |
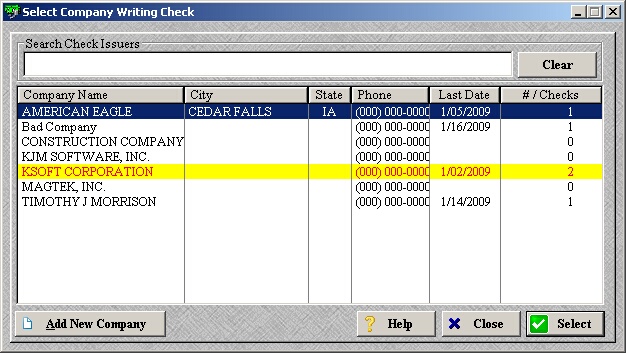
| » | Select a company and click Select to choose that payee and return to the previous screen. |
| » | Double-click a company to view/edit its details. To view complete details on editing a check payee, please see Add/Edit Check Payee. |
| » | Use the Add New Company button to add a new payee. To view complete details on adding a check payee, please see Add/Edit Check Payee. |
| » | Fill in the rest of the desired information including the Check # and Face Value of Check. |
| » | The Check Date automatically defaults to today unless the feature is turned off. The auto check date feature is set in the Company Address/Misc Options Setup (Options section). |
| » | If the check payee selected has a default Check Cashing Rate, that rate will automatically be selected and the Fee Total will be calculated once the Face Value has been entered. The default check cashing rate feature is set in the Check Cashing Rates Setup (Add/Edit section). |
| » | Otherwise, select a Check Cashing Rate from the drop-down menu. Again, the Fee Total will be calculated once the Face Value has been entered. |
| » | The Fee Total button allows you to manually override the fee if the feature is turned on. The manual override feature is set in the Check Cashing Rates Setup (Add/Edit section). |
| » | The Add Maker button allows you add a new check payee if you have already entered the Bank Routing # and the Bank Account #. To view this process, please see Add/Edit Check Payee. |
| » | The Add Person button allows you to add an additional person to the transaction. This is mostly used for page 2 of FinCen 104 "CTR". |
| » | The Verify Check button allows you to verify a US Treasury check. |
| » | Click Add Check when finished or Cancel to exit without saving this check information. |
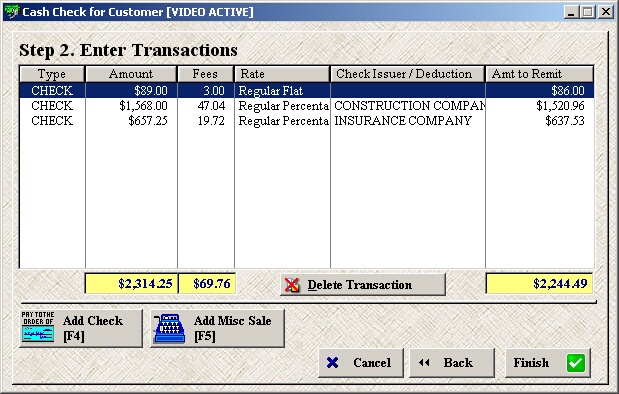
| » | Multiple checks may be cashed at one time if the feature is turned on. Simply click Add Check and repeat the above step for each check. The Multiple Transactions feature is set in the Company Address/Misc Options Setup (Options section). |
| » | To delete an already added check, select the check from the list and click Delete Transaction. |
| » | If the customer also needs to purchase something from your miscellaneous sale list, click Add Misc Sale. |

| » | Click the QuickKey item to add it to the list. |
| » | When finished, click Save to return to the check cashing process. |
| » | To view complete details on the Misc Sale Window, please see the Process Misc Sale chapter. |
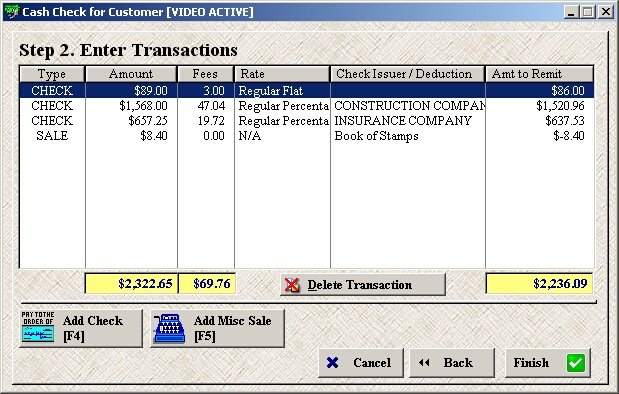
| » | The misc sale is now listed in the transactions window as SALE. |
| » | When finished adding checks and misc sales, click Finish. |
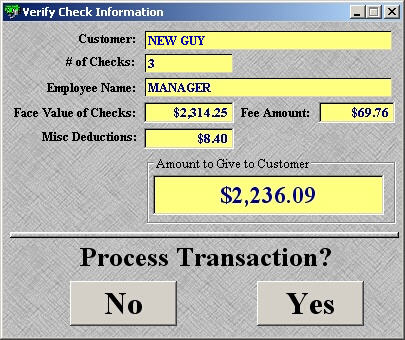
| » | Verify the transaction summary and click Yes to process the transaction. |
| » | Click No to cancel and return to the previous screen. |

| » | Click OK to confirm the cash was removed from the cash drawer. |
| » | Click Yes to print the customer a receipt. |
| » | Click No to skip printing a receipt. |
Page url:
http://www.ksoftcorp.com/help/index.html?using_fingerprint_reader_only.htm


